How to Use Jams and Jellies in DIY Wedding Favors: Laser 247 new id login, Lotus betting sign up, 11xplay.pro
laser 247 new id login, lotus betting sign up, 11xplay.pro: Planning a wedding can be an exciting, albeit stressful, experience. From choosing the perfect dress to deciding on the ideal venue, there are countless details to consider. One aspect of wedding planning that often gets overlooked is the wedding favors. These small tokens of appreciation are a great way to thank your guests for celebrating your special day with you.
If you’re looking for a unique and budget-friendly wedding favor idea, consider using jams and jellies. Homemade jams and jellies are not only delicious but also customizable to fit your wedding theme and color scheme. In this article, we’ll explore how you can use jams and jellies in DIY wedding favors to add a personal touch to your big day.
1. Choose Your Jam or Jelly Flavor
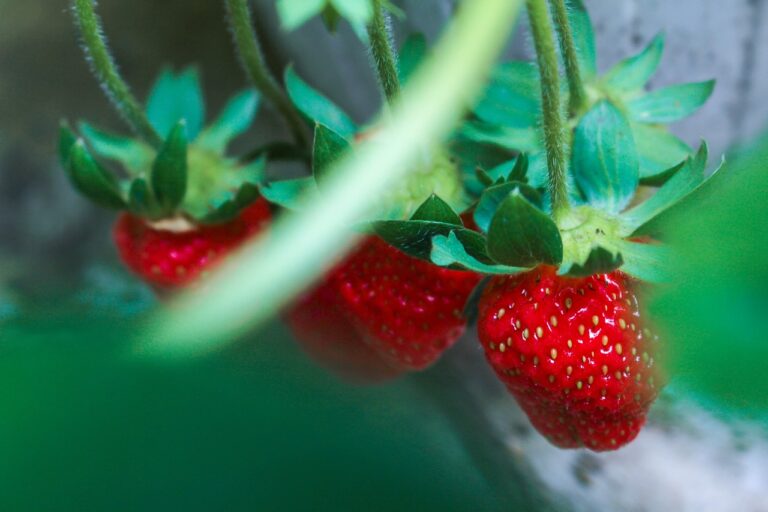
The first step in creating DIY wedding favors using jams and jellies is to choose your preferred flavor. Consider selecting a flavor that holds significance to you and your partner, or one that aligns with your wedding theme. Popular choices include strawberry, raspberry, peach, and blueberry. You can also explore unique flavor combinations like mango habanero or lavender honey.
2. Source High-Quality Ingredients
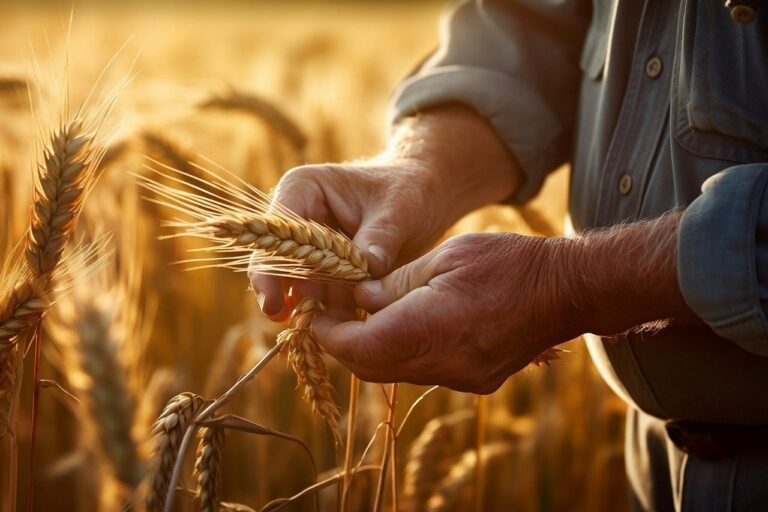
To ensure that your homemade jams and jellies turn out delicious, it’s crucial to source high-quality ingredients. Look for fresh, ripe fruits from local farmers markets or grocery stores. Additionally, opt for organic sugar and pectin to achieve the perfect consistency and flavor.
3. Gather Supplies
Once you have chosen your desired flavor and gathered your ingredients, it’s time to gather the necessary supplies for making the jams and jellies. You will need mason jars or small glass containers, labels, fabric or paper for decorating, ribbons, and twine for tying.
4. Make Your Jams and Jellies
Follow a tried-and-true recipe for making your jams and jellies. Be sure to taste test along the way to adjust the sweetness or tartness levels to your liking. Once your jams and jellies are ready, allow them to cool before transferring them into mason jars or glass containers.
5. Decorate Your Wedding Favors
Get creative with decorating your wedding favors using jams and jellies. Consider adding a personalized label with your names and wedding date, or tying a fabric or paper square over the lid of the jar. You can also add a ribbon or twine for an extra special touch.
6. Package Your Wedding Favors
Once you have decorated your jars, it’s time to package them for your wedding guests. Consider placing the jars in small gift bags or boxes, along with a thank you note or a small token of appreciation. You can also display the jars on a decorative tray or basket for guests to take home.
7. FAQs
Q: Can I make jams and jellies in advance?
A: Yes, you can make jams and jellies in advance. Homemade jams and jellies can be stored in a cool, dark place for up to a year. Just be sure to check for any signs of spoilage before serving.
Q: Can I customize the labels on the jars?
A: Absolutely! You can customize the labels on the jars with your names, wedding date, or a special message. There are many online services that offer personalized labels for wedding favors.
Q: How far in advance should I make the jams and jellies before the wedding?
A: It’s best to make the jams and jellies a few weeks before the wedding to ensure freshness. This will also allow you time to decorate and package the jars before the big day.
In conclusion, using jams and jellies in DIY wedding favors is a creative and thoughtful way to thank your guests for being a part of your special day. By following these steps and guidelines, you can create personalized wedding favors that will leave a lasting impression on your guests. So go ahead, get creative, and start making your delicious homemade jams and jellies for your wedding day!